Working on my 3D Modelling Artefact.

Dev Diary #18
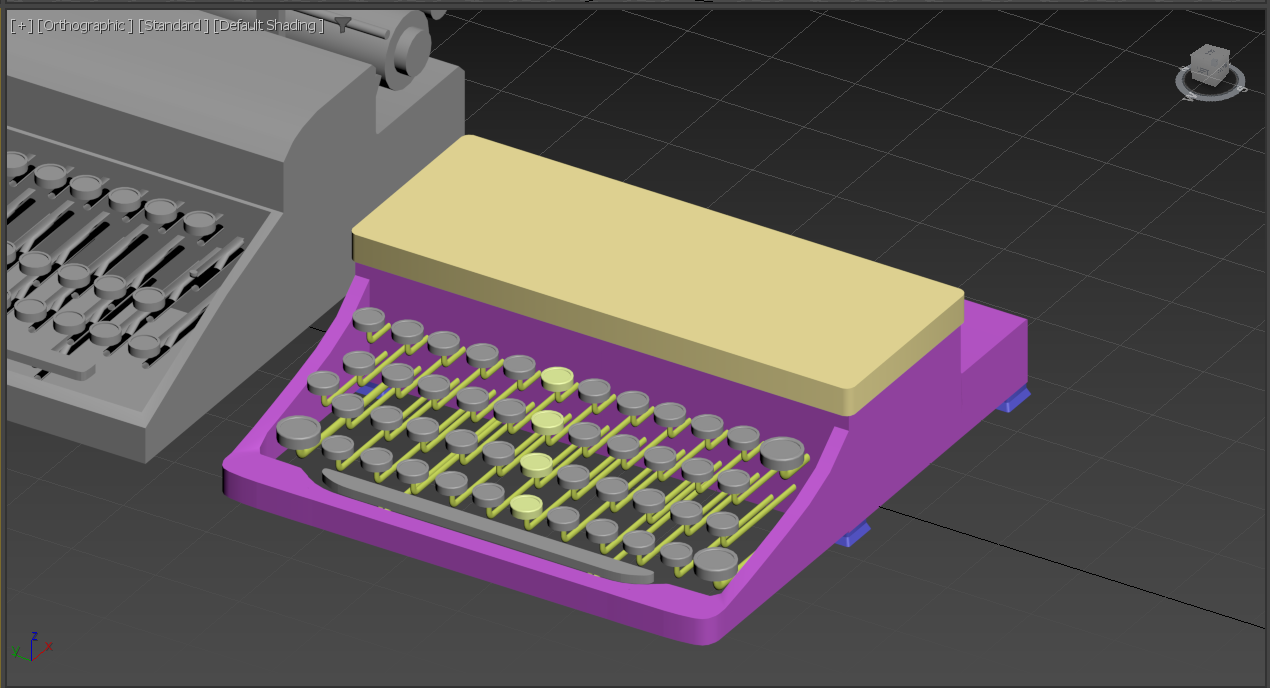
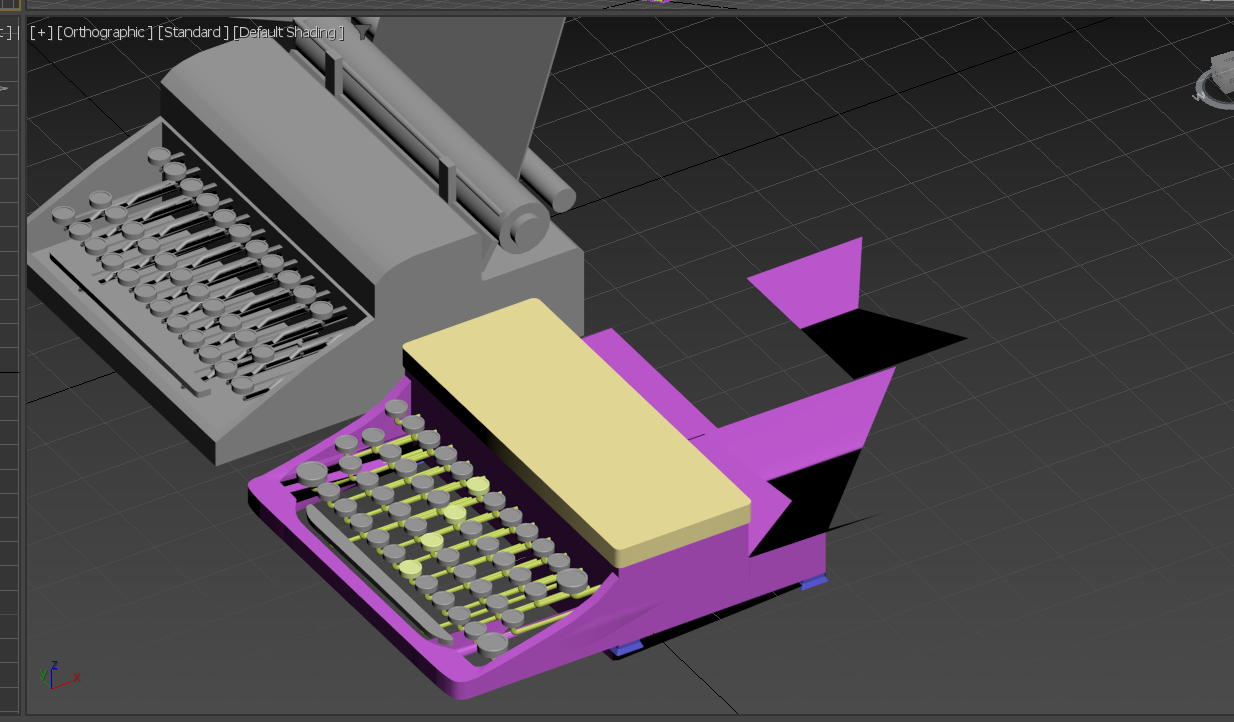
During consolidation week, I focussed a lot of my time and effort on making progress on my artefact for the 3D modelling assignment. Previously I had taken my artefact draft and used the dimensions to create a box in the same size and shape that I would use to build the final version from. As well as this, I felt the keys I created for my draft were good enough to use in the final version and since I used them to practice lofting on then these fit the brief as well. One issue I encountered from this however, was when I opened the project to continue working on it at the start of consolidation week, the mesh for the case was skewed and vertices were all over the place, not how I left the project last time.


After doing some research, I discovered that this is caused by a bug within 3DS Max that's been occuring since 2019 and is yet to be fixed. Apparently when working with the edit poly feature, sometimes the vertices forming a mesh will move or dissapear, resulting in a ruined mesh like mine. To fix this, I found a suggestion saying to collapse the modifiers used into a single 'editable mesh'. After copying my project file and testing this method, I found that it had worked! The new problem this created however, was that a big part of the brief is showcasing my skills using tools like edit poly and by collapsing the modifier into an editable mesh, there is no longer any proof that I used edit poly to create the typewriter case and I was concerned that this would lose me some potential marks. After consulting a lecturer however, I decided that the editable mesh solution was the best way forward and that it would be okay since it's obvious that the mesh was very likely created by edit poly anyway.
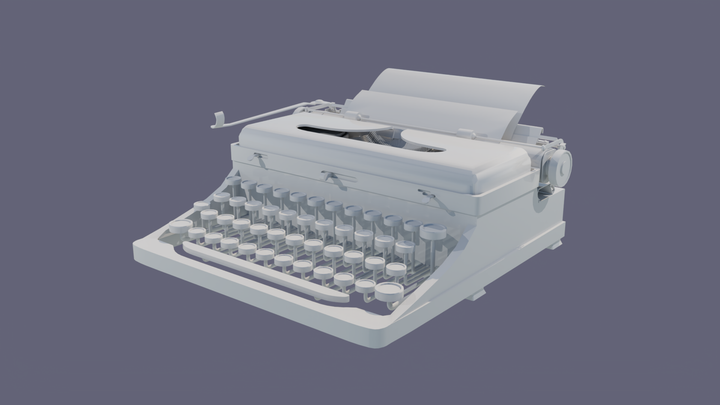
After I solved this, I was able to spend the rest of the week using tools such as lofting, edit poly and boolean subtracts to slowly add more details to the typewriter mesh.

