Retopology
Dev Diary #34
With the sculpting (the 1st of the 2 longest stages) complete, it was time for the 2nd longest stage - the retopology!
For fast and effective retopology, I decided to use Blender rather than Maya due to it's time-saving plugins such as Loop Tools and Bsurfaces. Retopology is one of my most disliked stages of 3D character art, and so to save time (and my sanity) I felt it would be best to use Blender rather than push myself to do it in the industry standard Maya.
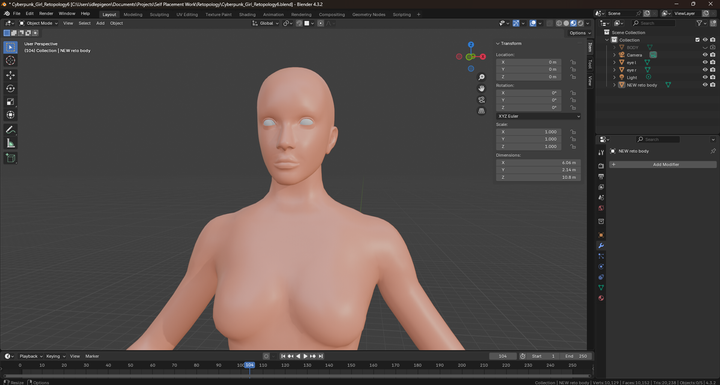
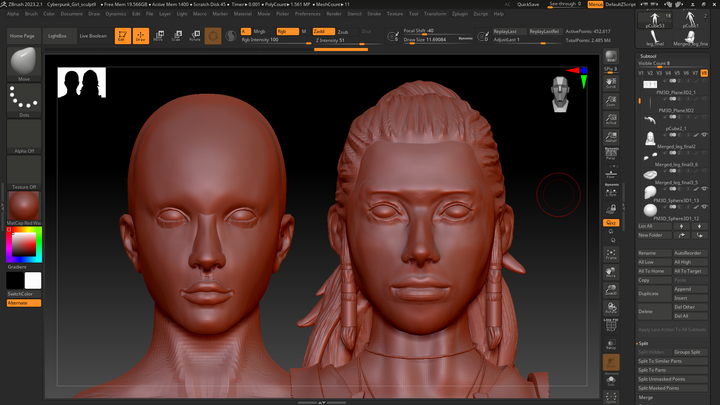
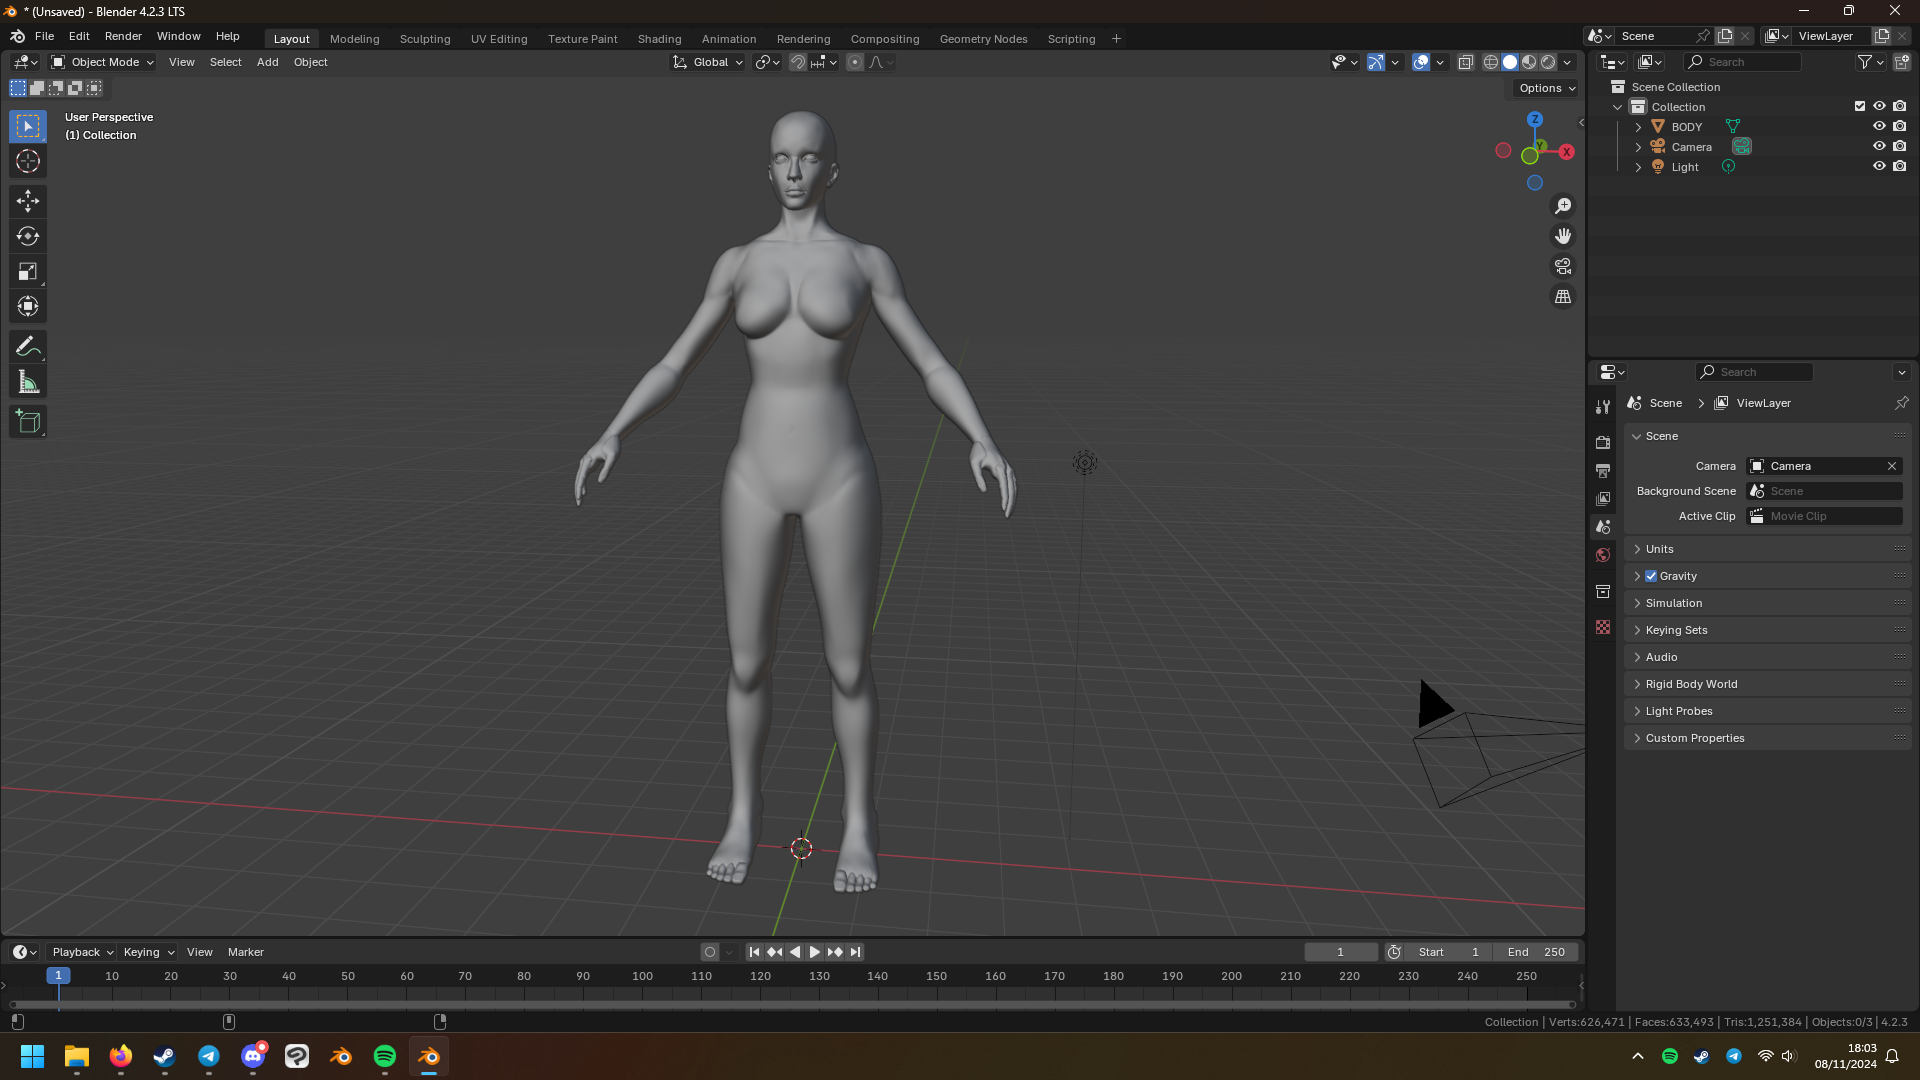
I started by importing my character sculpt into Blender. The tri count of my sculpted model is a total of 1.25 million tris or 1,251,384 to be exact. This is an absurdly high amount of tris and would significantly affect performance of the model in game. This is why retopology is so important and why it's the next step forward for my project.
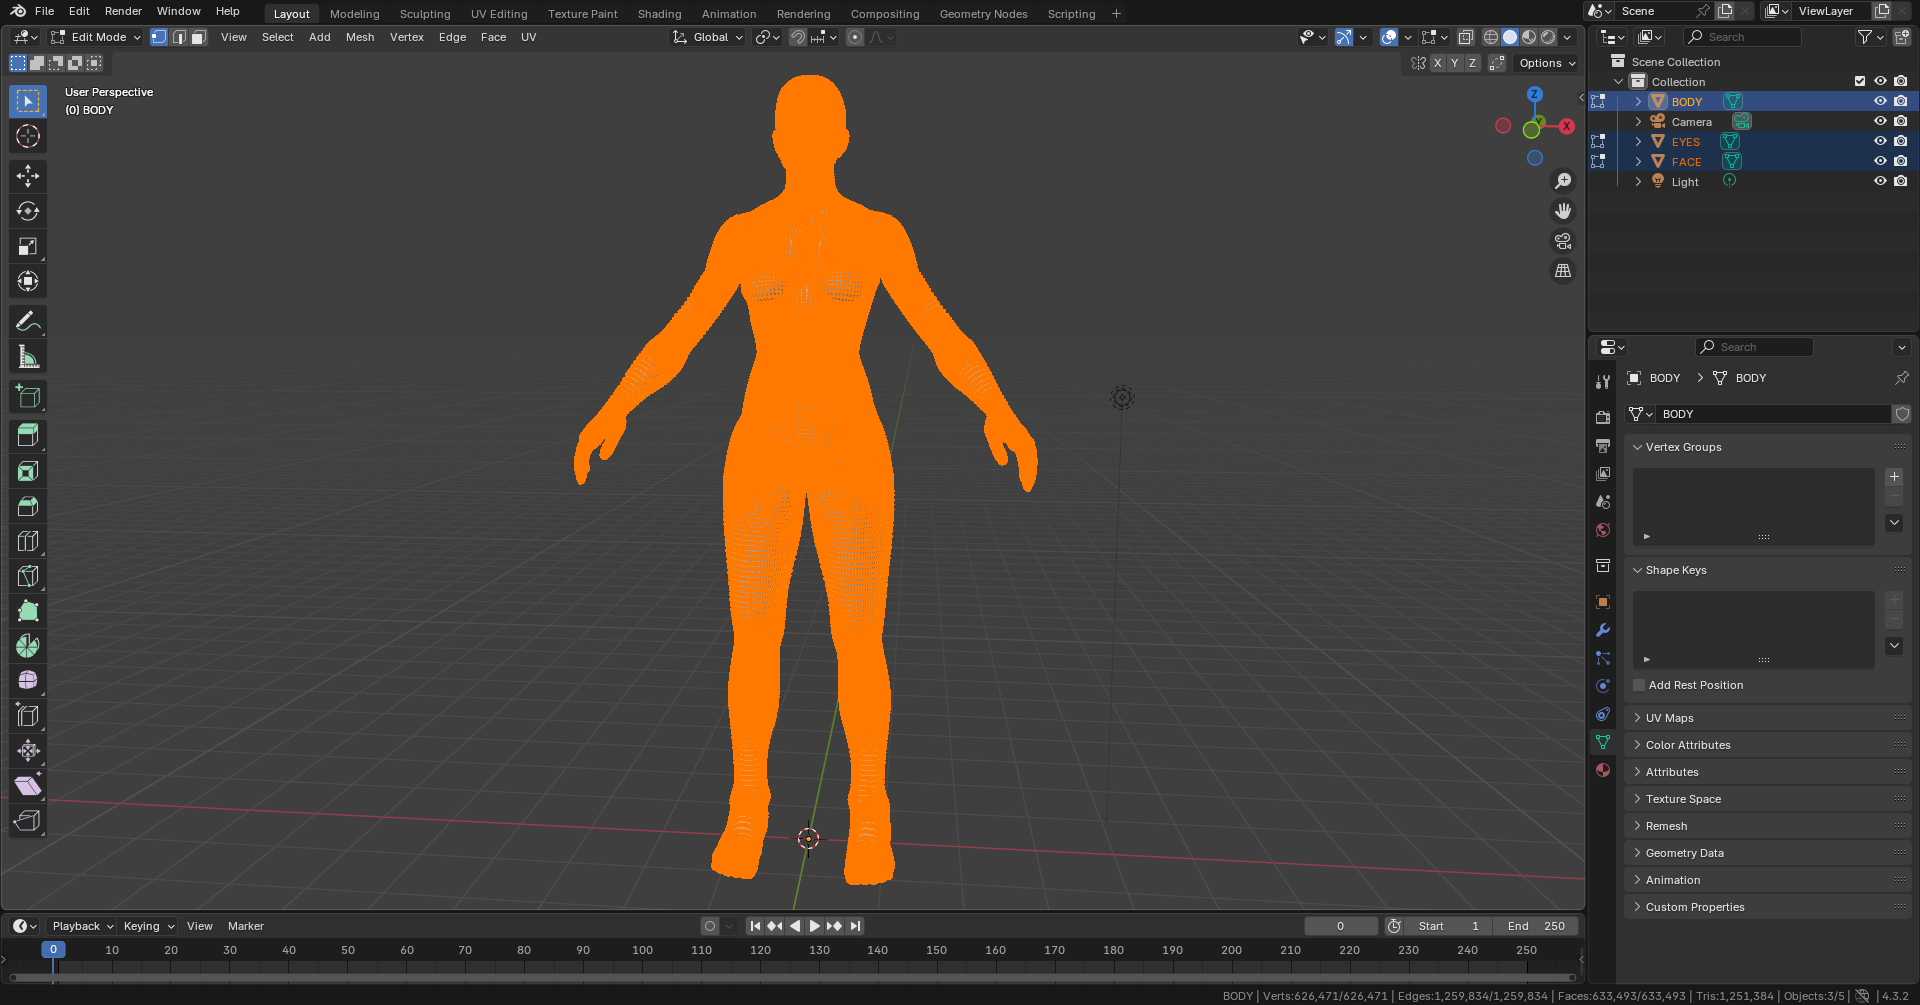
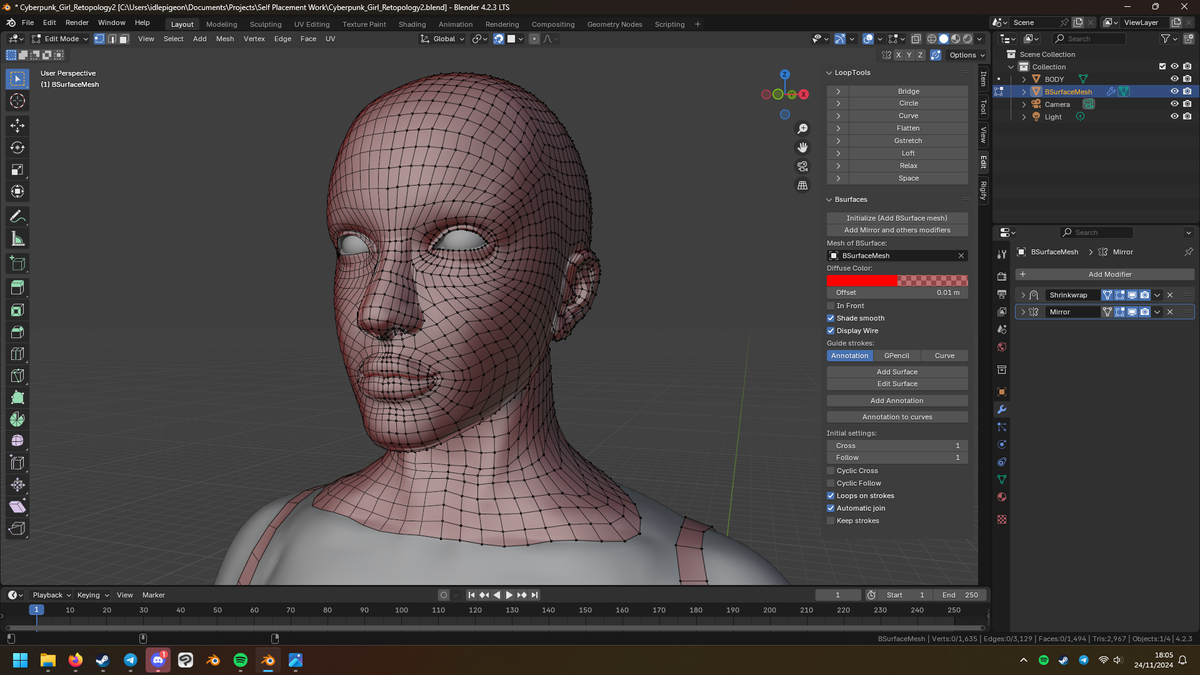
Unlike in the sculpting stage, I started by retopologising the face to get it out the way faster. The first step is to draw loops around the core parts of the face to make the edge flow smoother and allow more seamless and realistic deformation (especially around the mouth). Doing this also makes filling in the gaps a LOT easier as it helps to maintain good edge loop flow and connect sections together easier.
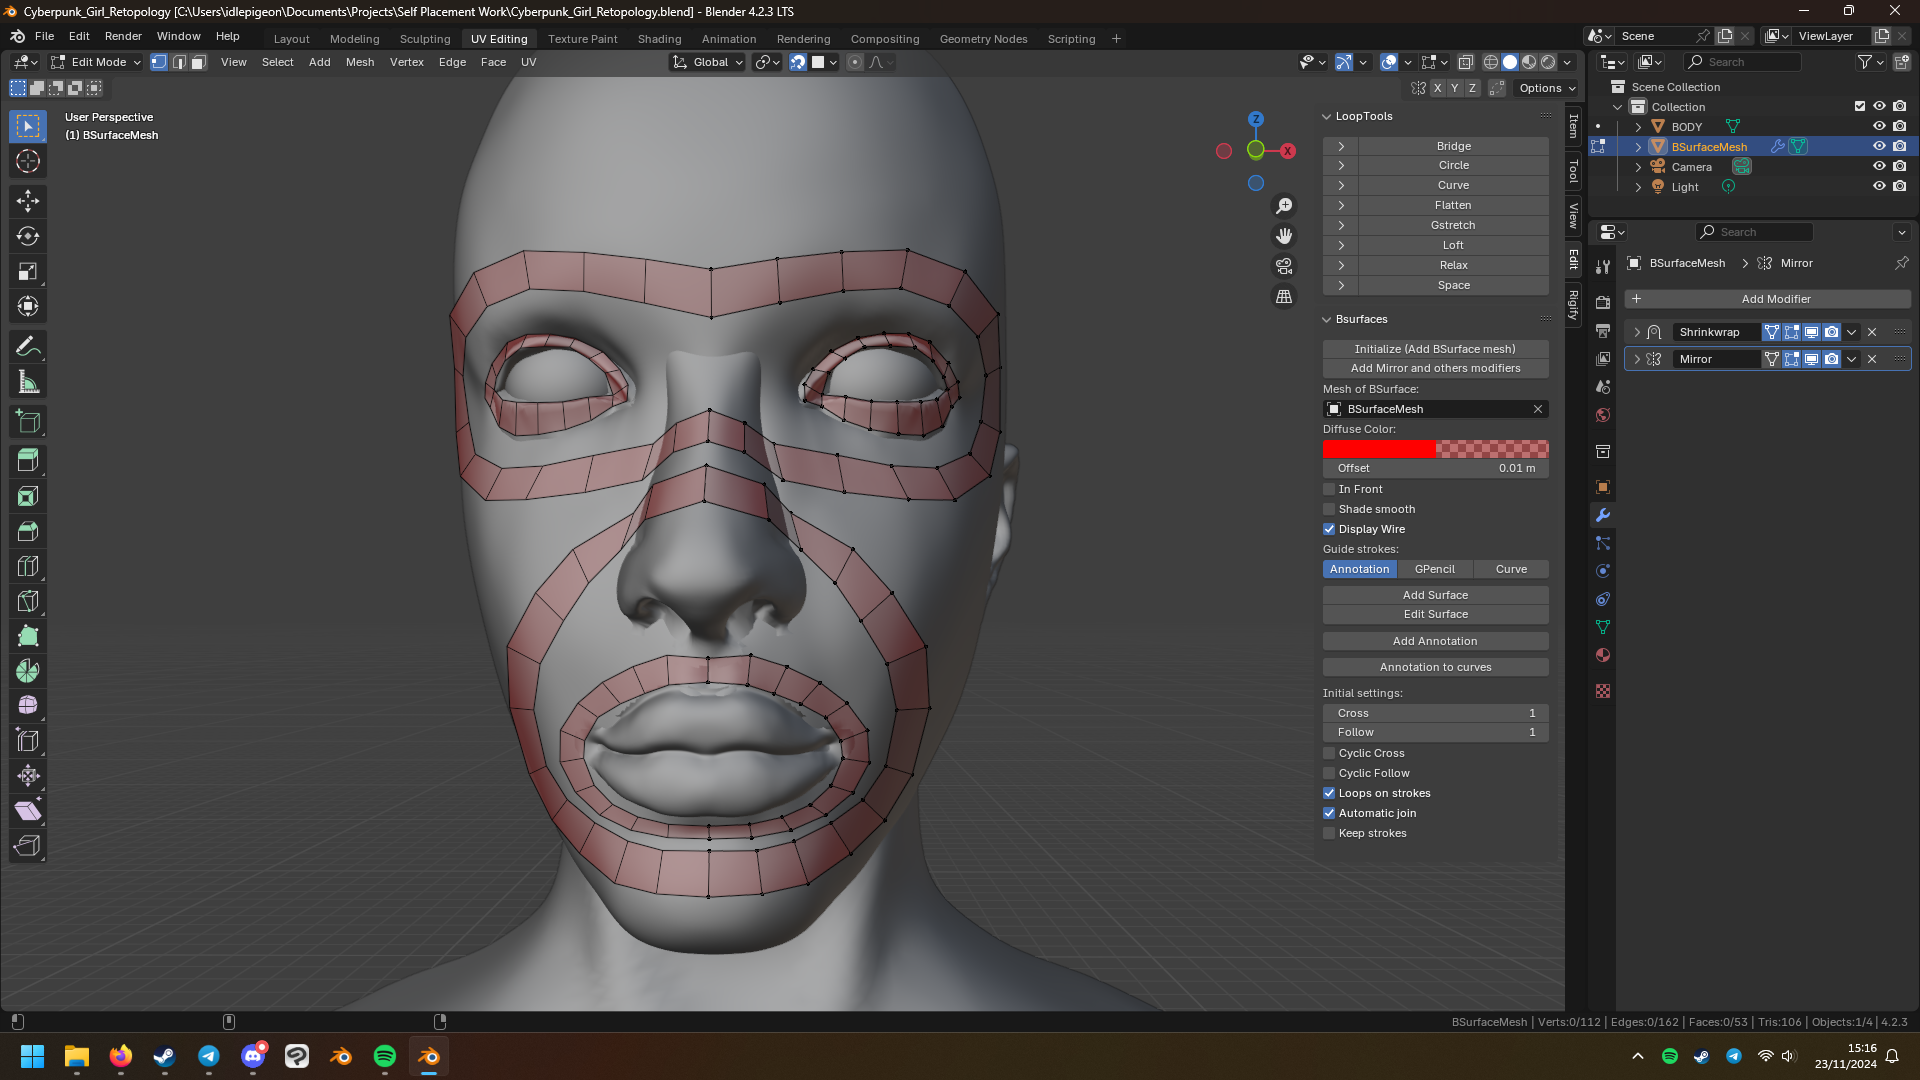
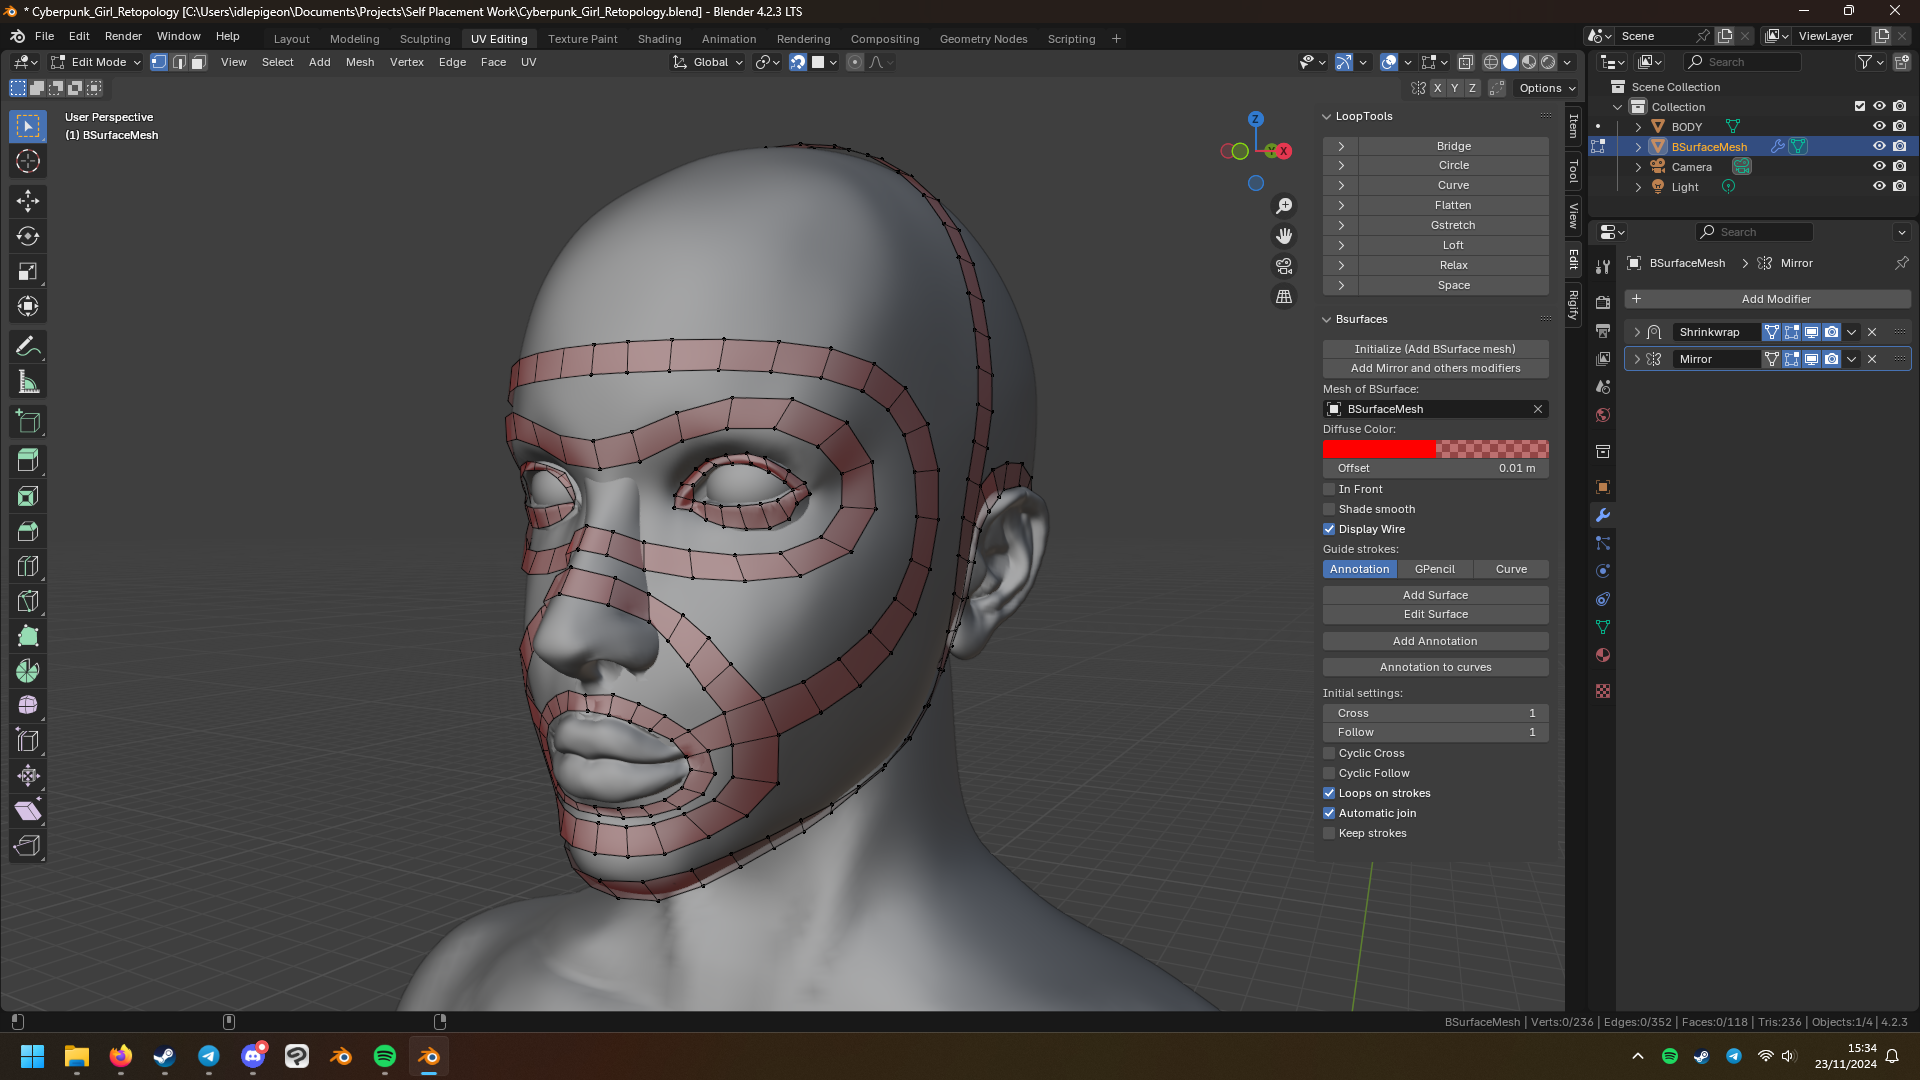
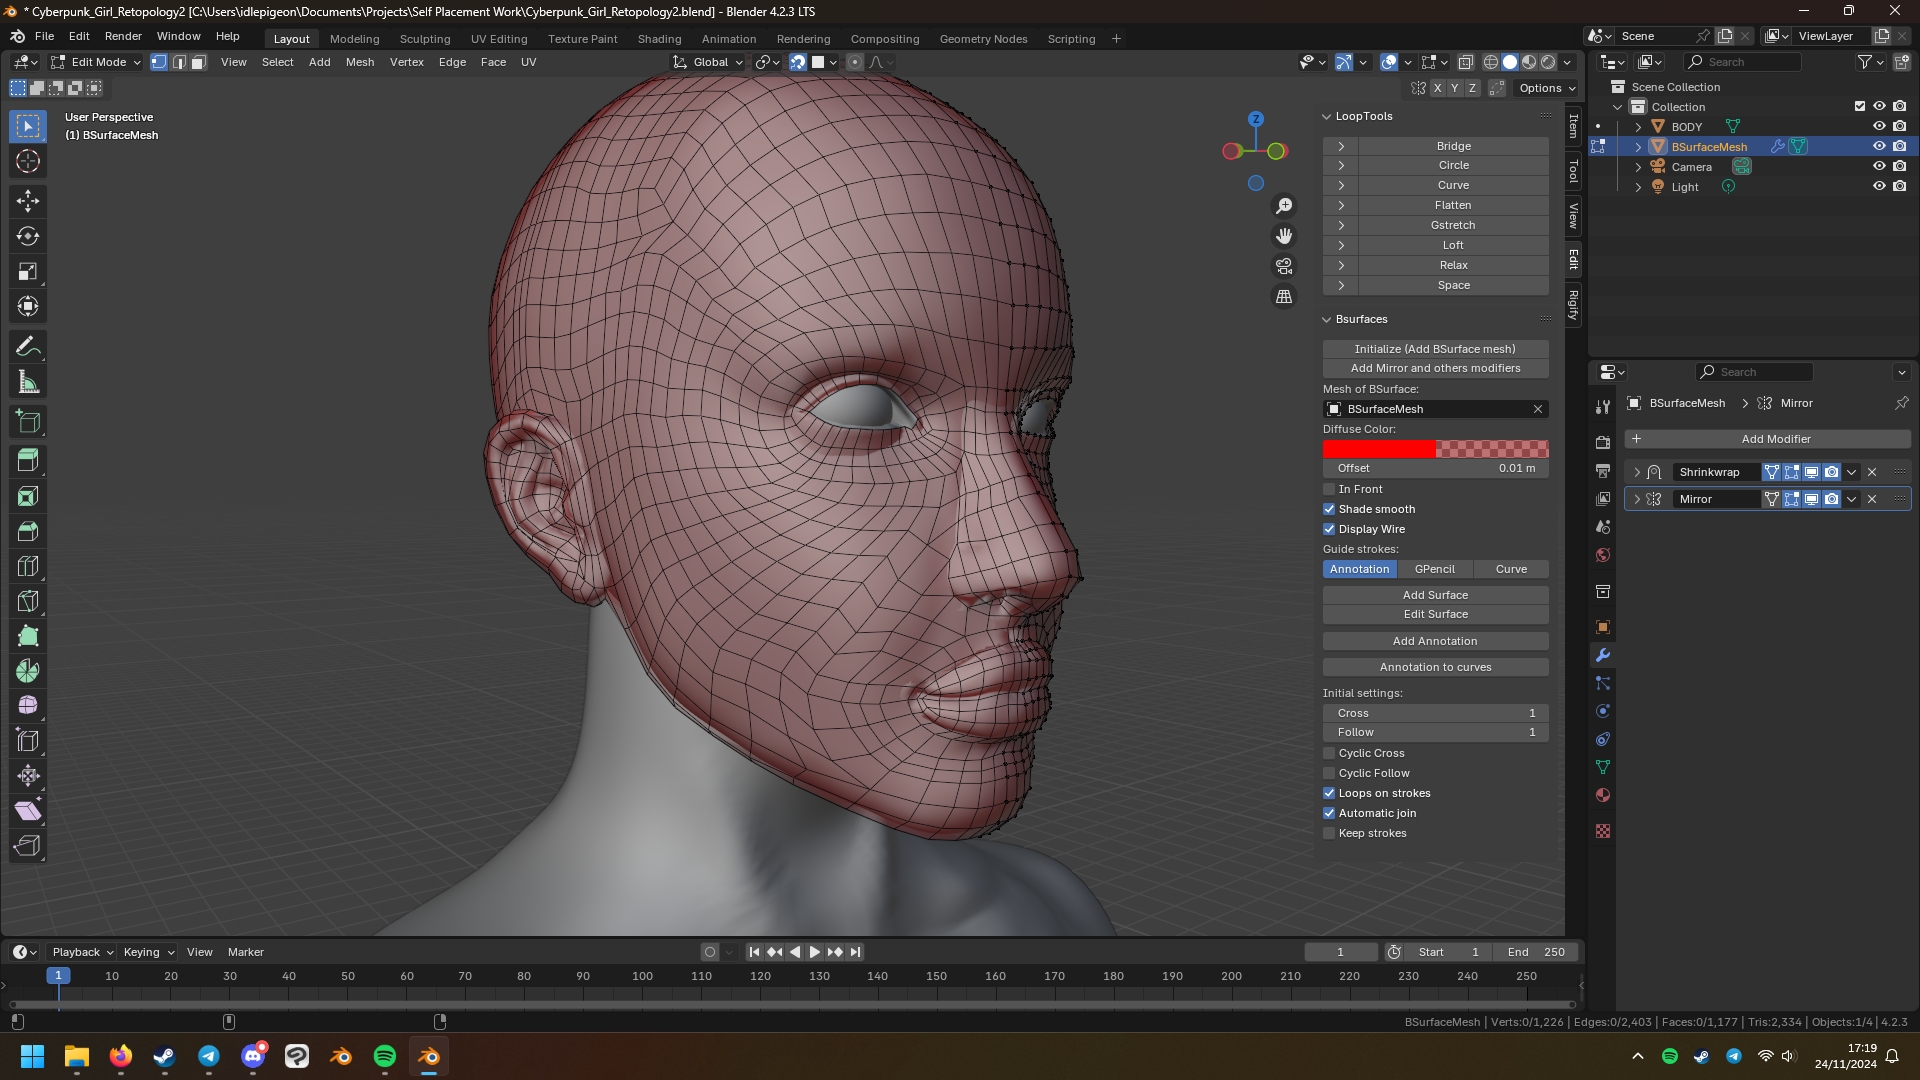

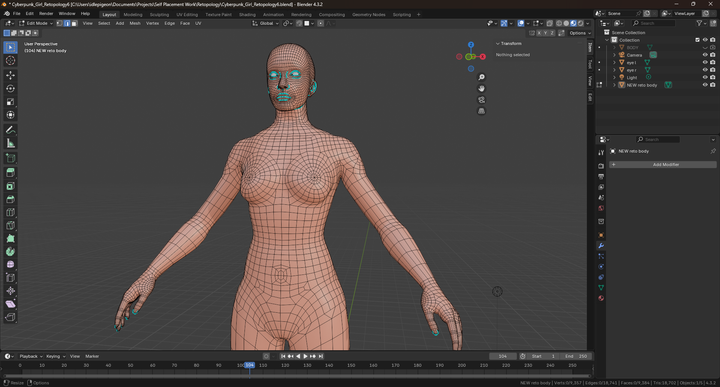
Overall, retopologising the face went a LOT easier and turned out a lot better than it did with my last project. One thing that I think cauased this was my commitment to using edge loops to seperate the core parts of the face. While I did this with my last project too, I didn't have a proper understanding of WHY I was doing it this way, and so it resulted in poor edge flow. While the edge flow of my Cyberpunk character is far from perfect, there is significant improvement present and I'd like to revisit it again after retopologising the rest of the body and clean up certain areas.
Stay tuned! :3
